2. Materials Needed
- Vacuum cleaner with hose attachment
- Long, flexible dryer vent brush
- Leaf blower
All common household items—no need or disassembly or special tools.
3. Step-by-Step Method
- Unplug dryer and move it away from the wall.
- Vacuum visible lint at the vent opening.
- Insert brush into the vent; rotate gently to loosen lint.
- Vacuum again to remove loosened debris.
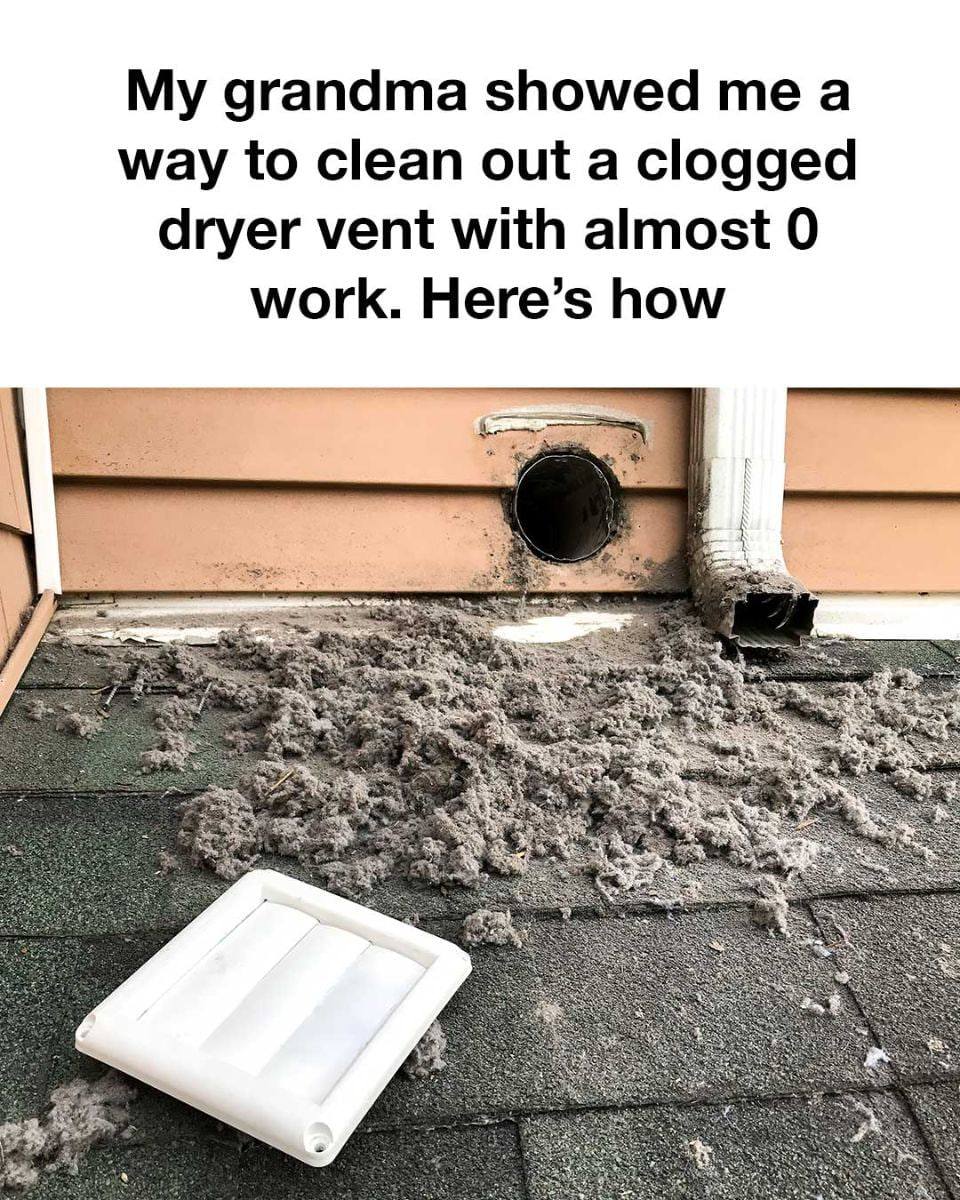
- Use leaf blower at the exterior vent opening to push remaining lint out.
- Reassemble dryer, push it back, plug in, and test.
4. Why It Works
- Brush: Loosens lint and debris inside vent.
- Vacuum: Removes debris before it clogs the vent again.
- Leaf blower: Expels stubborn lint using airflow.
Combines mechanical agitation + airflow for maximum efficiency without vent disassembly.
5. Safety Tips
- Always unplug dryer before starting.
- Wear goggles when using the leaf blower.
- Inspect the vent for damage or blockages that may need professional repair.
- Follow manufacturer instructions for dryer and tools.
6. Benefits
- Low-effort, high-impact maintenance.
- Reduces fire risk.
- Improves dryer efficiency and saves energy.
- Prolongs appliance lifespan.
💡 Summary: This method is simple, effective, and safe, combining vacuuming, brushing, and airflow to clear lint without taking apart the vent. It’s a perfect example of “old-school wisdom meets modern convenience.”
")


