Forget mysterious chemicals with unpronounceable names. The power is in this trio:
- White Distilled Vinegar: The workhorse. It’s a natural acid that breaks down mineral deposits, grease, and soap scum. It’s a brilliant deodorizer and disinfectant.
- Dish Soap (The Blue Dawn Original is iconic for a reason): The degreaser. It’s engineered to cut through tough, sticky food grease and lift it away, binding to dirt so it can be rinsed off.
- Hydrogen Peroxide (3% solution): The brightener and booster. It’s a mild bleaching agent and oxidizer that helps lift stains, whiten grout, and provides extra disinfecting power. Important: Use the regular brown bottle from the first aid aisle. Do not mix it with vinegar in a stored bottle (we’ll combine them safely at use-time).
Why This Combination Works:
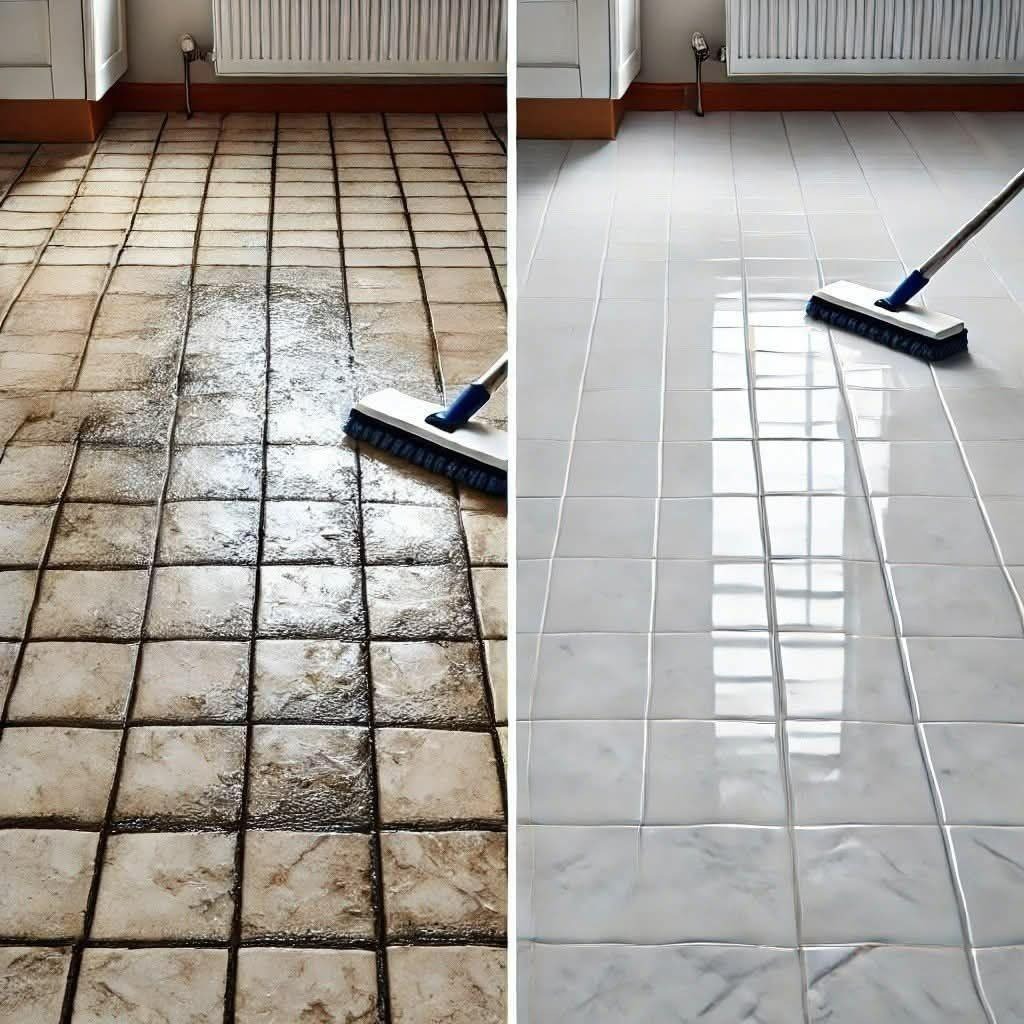
Think of it as a cleaning dream team. The dish soap grabs and suspends the dirt, the vinegar dissolves the hard water marks and grime, and the hydrogen peroxide attacks stains and provides a brightening, sanitizing lift. Together, they tackle everything a kitchen or bathroom floor throws at them.
How to Mix & Use Your Powerful Solution
Important Safety First Note: For optimal effectiveness and safety, we mix the peroxide separately. Never store a mixed solution of vinegar and hydrogen peroxide in a single bottle, as it can create peracetic acid, which is an irritant. We combine them at the moment of cleaning, which is both safe and more effective.
What You’ll Need:
- A bucket
- A microfiber mop (highly recommended) or a sturdy string mop
- A measuring cup
- A small bowl or spray bottle
H3: Step 1: The Pre-Clean Sweep
Always start with a thorough dry sweep or vacuum. You want to remove loose dirt and grit so you’re not just pushing it around with your mop.
H3: Step 2: Mix Your Two-Part Solution
In Your Bucket: Combine 1/2 cup of white vinegar with 2 gallons of hot water. Add a generous squirt of dish soap (about 1 tablespoon). Swirl to mix. This is your primary mopping solution.
In a Separate Small Bowl or Spray Bottle: Pour 1/2 cup of 3% hydrogen peroxide. This is your targeted booster.
H3: Step 3: The Cleaning Method That Makes the Difference
- Dip your mop into the vinegar/soap bucket, wring it out very well. A overly wet mop is the enemy of clean floors—it just spreads dirty water.
- Mop a 3×3 foot section of your floor using figure-8 motions to lift dirt.
- Here’s the key move: Before moving on, take your small bowl or spray bottle of hydrogen peroxide and lightly drizzle or mist it over the section you just mopped, paying special attention to grout lines. You’ll see a gentle fizz—that’s it working!
- Do not rinse. Allow the solution to sit and work on the floor for 5-10 minutes. This dwell time is critical for breaking down grime.
- After it has sat, take a mop rinsed in clean hot water, wring it well, and go over the section to rinse away the cleaning solution. For the whitest, most residue-free result, rinsing is essential.
- Repeat section by section across your floor.
H2: Crucial Pro-Tips for “Never Had It So White” Results
- Test First! Always do a spot test in an inconspicuous corner, especially on sensitive stone (like marble or travertine) or old flooring. Vinegar’s acidity can etch natural stone.
- For Extra-Dirty Grout: For black or deeply stained grout lines, make a paste of baking soda and a tiny bit of water. Apply it to the grout, then spray or drizzle the hydrogen peroxide over it. It will bubble powerfully. Let it sit for 10-15 minutes, then scrub gently with an old toothbrush before mopping as usual.
- The Microfiber Advantage: A microfiber pad grabs and holds dirt instead of pushing it. Use one pad for applying the cleaning mix and a fresh, clean one for the rinse step.
- Ventilation: Open a window. The vinegar smell will disappear completely as the floor dries, leaving no scent behind.
")


