1. Preparation of polystyrene
Chop the polystyrene into small pieces . This will help it degrade more evenly during heating.
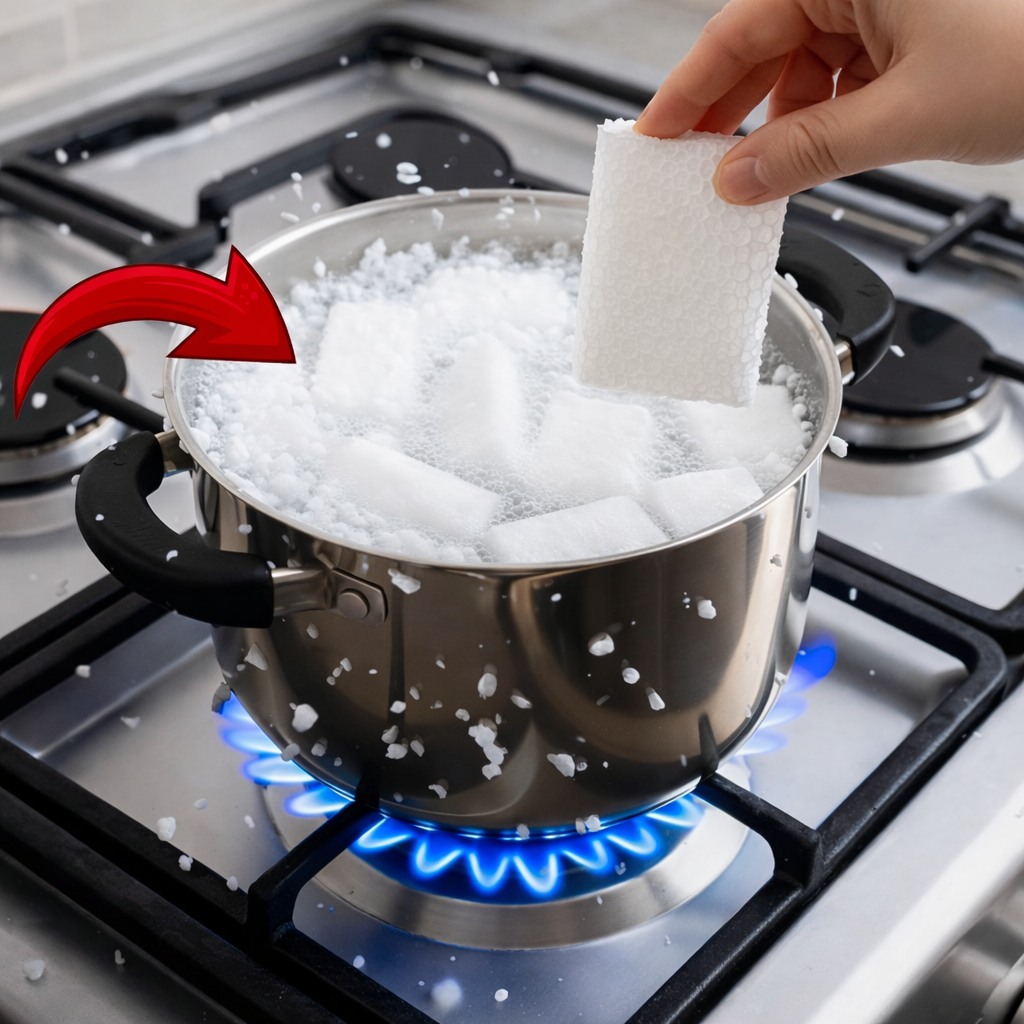
2. Cooking and transformation
Place a pot on the stove with a little water . When it starts to heat up, add two or three pieces of polystyrene.
You’ll see how the material degrades and becomes a viscous paste . Continue adding the rest of the pieces until you obtain a thick, homogeneous mixture.
3. Cooling the mixture
Remove the pot from the heat and let the resulting paste cool completely. It is important that it is cold before handling it.
4. Preparing the container
Cut a small plastic bottle in half horizontally. Use the bottom part as a container.
5. Final mixture
Pour the cooled polystyrene paste into the container and mix it with paint . The paint helps improve adhesion and makes application easier.
6. Rest
Let the mixture rest for at least 24 hours (optional, but recommended) to allow it to thicken.
7. Application
Apply the paste to the holes or leaks in the roof . When it dries, it acts as a waterproof sealant , preventing water from getting in.
Tips and recommendations
- Perform the process in a well-ventilated area .
- Wear gloves to avoid direct contact with the hot or viscous mixture.
- Do not use kitchen utensils that you will later use for food.
- Test first on a small area before sealing the entire surface.
- This mixture is ideal for minor repairs ; it does not replace professional solutions for major structural damage.
For a better understanding of this content, we invite you to watch the following video from the Creation Invention channel:
")


